Login
Log in if you have an account
Register
By creating an account with our store, you will be able to move through the checkout process faster, store multiple addresses, view and track your orders in your account, and more.
Create an accountDemystifying Chain Waxing: The (No Longer So Well-Kept) Secret of the Pros
Tired of the infamous “warrior mark” on your calf after every ride? Does your drivetrain sound like a coffee grinder after just 100 km? It’s time to talk about a little revolution that’s transforming bike maintenance: chain waxing. Long reserved for Tour de France mechanics or performance fanatics, this technique is now becoming the new standard for anyone who loves their bike.
What’s the concept?
Forget that little bottle of oil that attracts dust. Waxing replaces your standard lubricant with a full dip of the chain in hot wax. Once cooled, the wax forms a solid, ultra-smooth protective layer inside every link.
Why switch to wax?
The “Clean Calf” Advantage – Number one reason. Wax is dry. You can touch your chain with white gloves, and they’ll stay white. Say goodbye to stubborn grease stains!
Longevity (x4) – A standard lubricant lasts about 150 km before gumming up. With a waxed chain, you can ride up to 600 km worry-free.
Quiet and Efficient – Less friction means less noise. Experts also agree that keeping abrasive dirt out of the drivetrain helps “save watts” – your pedaling becomes more efficient.
Ultimate Protection – Wax creates a physical barrier. Sand and dust can’t get into the chain rollers, drastically reducing component wear.
How to go “Wax Mode”?
Waxing takes a bit more initial care but saves you huge amounts of time in the long run. Here’s the process:
1. Deep Clean (The only slightly intense step)
For the wax to stick, your drivetrain must be clinically clean. All traces of old oil are removed.
Tip: Use a Mason jar, chain degreaser, and shake vigorously! Don’t forget to clean the jockey wheels, cassette, and chainrings.
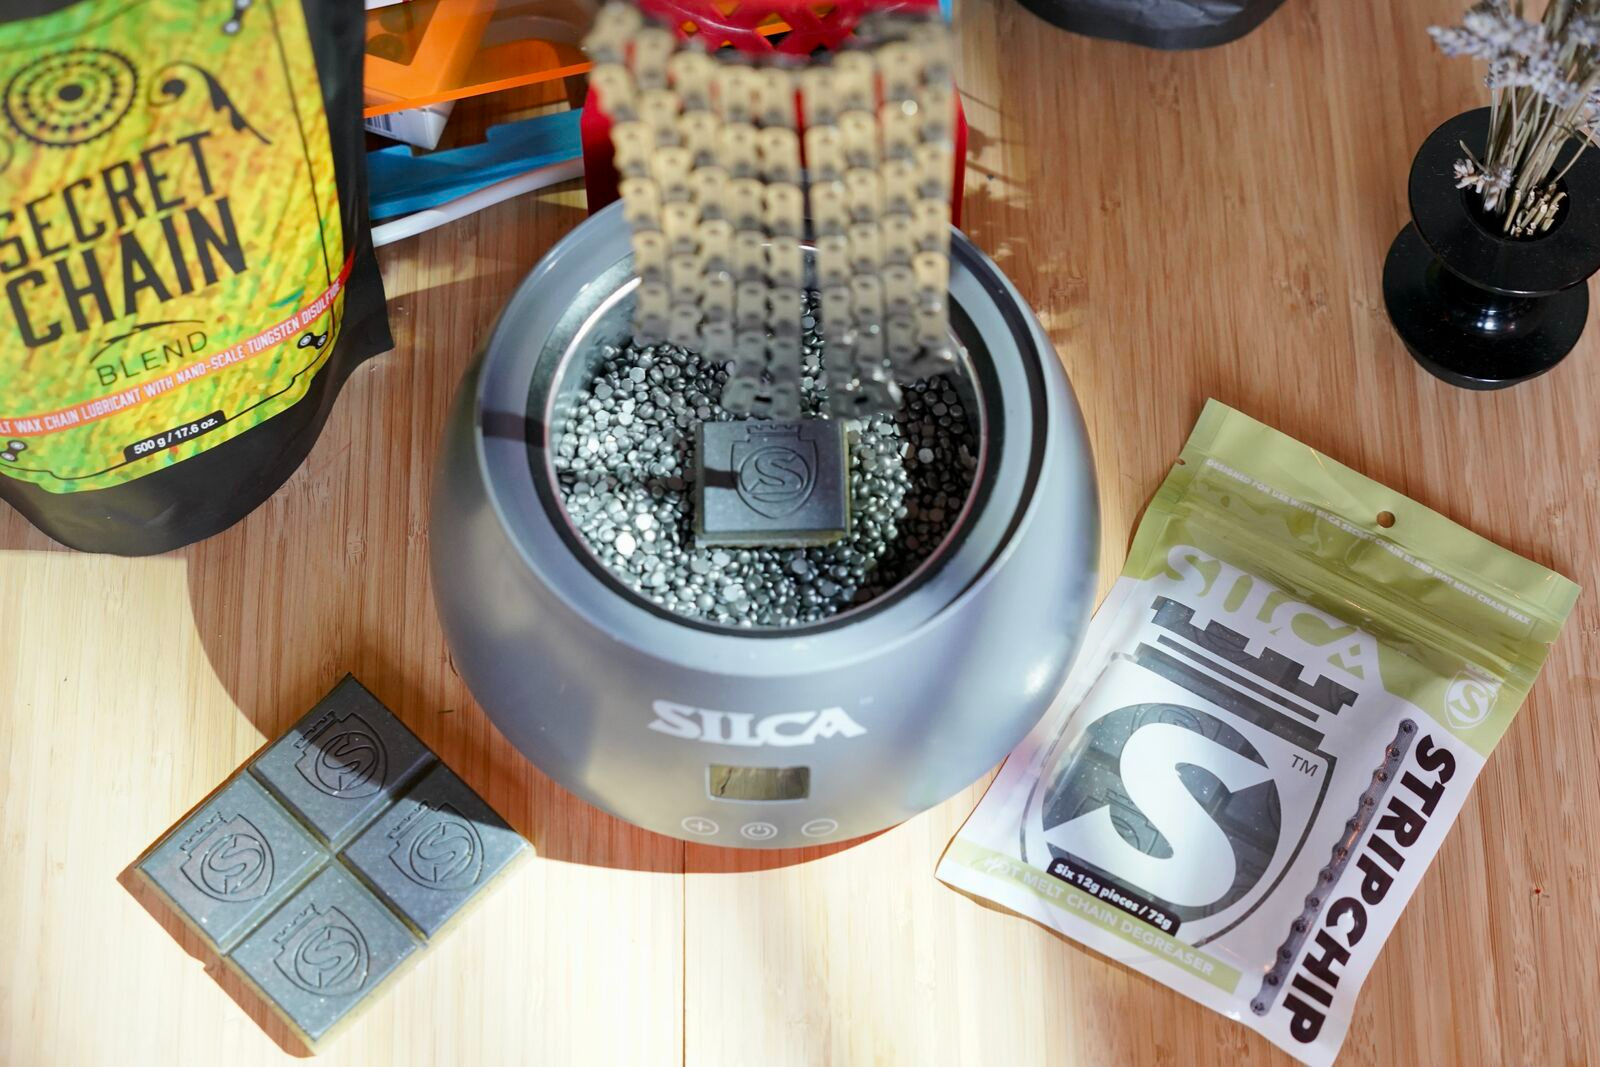
2. Precision Bath
We use a machine designed to heat wax to a precise temperature. The chain is fully immersed in the wax at just the right heat. Cooking time is crucial—it allows the wax to penetrate deep into the rollers and ensures the metal reaches the same temperature as the wax for optimal lubrication.
3. Drying
Once out of the bath, the chain must be hung to cool completely. This is where the magic happens: the wax solidifies, forming a protective shield.
4. The “Break-in” Trick
Don’t be surprised: once dry, your chain will be very stiff, almost like a piece of wood! This is normal and means the wax has set correctly.
Pro tip: Before installation, slide it over a smooth, round object (like a broom handle or workbench edge) to break the wax bridges and soften it. It will regain flexibility, making installation easier.
5. Logistics: The Winning Duo
We strongly recommend having two chains. One stays on your bike, the other is prepared in advance. Rotate them so you never miss a ride.
Want to try it without burning your fingers?
Not everyone wants to turn their kitchen into a workshop. That’s why we’re offering a new in-shop chain waxing service!
Come see us—we take care of everything.
Ready to say goodbye to those calf “tattoos”?
Recent articles
View all
Maxime Brouillette: The evolution of a high-performance athlete

Official Partner: Cycles Dupuis x Team Fainéant